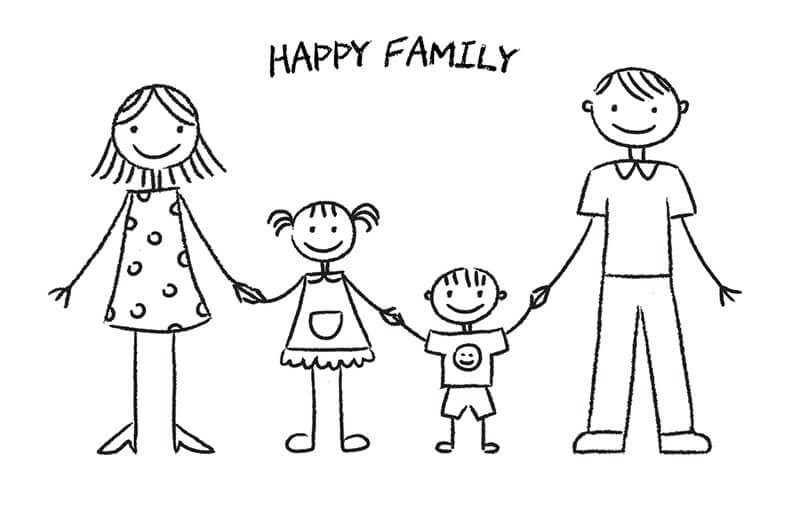
Teaching your children about family is essential, and you can do it in a fun way that involves drawing a cute family portrait. It’s easy to draw, won’t take your kids much time, and they can color it after they finish drawing. Luckily for you, we’ve prepared a tutorial on how to draw a family. So grab your drawing tools, and jump in!
How to Draw a Cute Family Portrait
You’ll need a pencil, eraser, and paper to finish this drawing, and here are the steps you should follow.
1. Draw the Father’s Face
First, outline the chin by drawing half an oval. Then, draw half a circle on each side to resemble the ears, and add a short curved line inside each ear. Next, complete the father’s face with curved lines on the top to resemble the forehead.
Draw two tiny circles and surround them with almond-shaped figures for the eyes. Then, draw two curved lines above the eyes for the eyebrows. Next, draw three small half-circles that curve upwards and connect them to resemble the nose.
Under the nose, draw a slightly curved line for the mouth and a tiny one under it for the mouth chin. Finally, draw two curved lines above the father’s face and connect them above the ears for the hair.
2. Draw the Mother’s Face
First, draw the chin like you drew the father’s chin. Then, draw two curved lines on top to resemble the mother’s hair falling on the side of her face. The ears won’t show here because of the hair.
Draw eyes, eyebrows, and a nose for the mother like you did in the previous step for the father. But instead of a line for the mouth, you can draw two connected curved lines above each other for a smile. Finally, use two curved lines to outline the mother’s long hair.
3. Outline the Father’s T-Shirt
Extend two vertical lines from the father’s face to resemble a neck and enclose it with a V shape. Then, draw a half-sleeved T-shirt using straight lines.
4. Draw the Boy’s Face
Beneath the father’s shoulders, draw half a circle that curves upwards, and extend the right side so that it’s taller than the left one. Next, go to the left side, and draw half a circle to resemble the left ear.
Above the ear, draw a short vertical line. Then, draw two curved lines on top of the boy’s head to resemble his hair. Finally, add the right ear by enclosing a small half-circle against the right side of the face.
Draw two eyes and eyebrows in the upper half of the face. Then, draw a small curved line beneath them to resemble the nose’s tip. Finally, draw a smile like you drew the mother’s mouth.
See also: How to Draw a Bird
5. Outline the Father’s Arms and the Boy’s T-Shirt
First, draw the father’s arm on his right side, and extend it to the front so that it looks like his right hand is lying on the boy’s shoulder. As for the left hand, make it look like it’s behind the mother. Next, draw the boy’s neck and T-shirt, but ensure that the right sleeve goes under the father’s hand.
You don’t have to complete the boy’s hand. Instead, draw two vertical lines extending from each sleeve and leave the rest for imagination.
6. Outline the Mother’s Dress
Next, draw the mother’s neck with a neckline that looks like a dress. Then, complete the upper parts of her shoulders, and draw short sleeves.
7. Draw the Baby’s Face
Beneath the mother’s face, you’ll draw a baby’s face to make it look like she’s holding him. You can draw the face just like you drew the rest of the family’s faces, but make sure it has a smaller size.
8. Draw the Baby’s Body
First, draw two curved lines under the baby’s head to resemble his shoulders, and skip drawing a neck. Then, extend two small horizontal lines for the sleeves. Finally, you can draw the rest of the baby’s shoulders using curved lines and end them with chubby hands.
9. Complete the Mother’s Body
Under the baby’s hands, draw the mother’s hand extending from her left shoulder. Then, finish the rest of her dress by drawing a long curved line under her arm. Finally, under the mother’s hand, complete the baby’s T-shirt by drawing a straight horizontal line.
10. Complete the Baby’s Body
Under the mother’s left hand and the baby’s T-shirt, draw two lines curving downwards to resemble the knees and one vertical line between them to separate the legs. Then, extend three curved lines for the baby’s legs, and end them with chubby feet and toes.
11. Draw the Mother’s Right Hand
In this step, you should draw the mother’s right hand and make it look like it’s supporting the baby’s back. To do that, extend a curved line from the baby’s legs, and finish it with four fingers. As for the thumb, you can draw a short finger coming from under the baby’s legs and connect it to the rest of the fingers.
12. Color the Drawing
Coloring the family portrait will be a ton of fun because of all the different details, and it won’t take much time. You can either use acrylic paints, watercolors, or colored pencils. As for the color palette, you can choose whatever colors you like best.
To Wrap Up
Drawing a family portrait is an enjoyable activity for kids, and you can use it as a chance to teach them a lot about family principles. Luckily, all they have to do is follow our tutorial, and they’ll have a beautiful drawing that they can brag about to their friends!